Agentic demo automation is here.
Meet Lily
This interactive demo was created free with Storylane in 2 minutes. Create your own demo
Start free

How to Create RLS in Power BI

‍

‍

Here’s the clean step-by-step so you can set it up:

‍

  1. Start by navigating to the 'Modeling' tab in the Power BI Desktop ribbon.
  2. Now, select 'Manage Roles' to begin setting up your Row-Level Security.
  3. In the Manage Roles dialog box, click the '+ New' button to create a security role.
  4. Give your role a descriptive name that clearly indicates its purpose.
  5. Select the table that contains the data you want to filter.
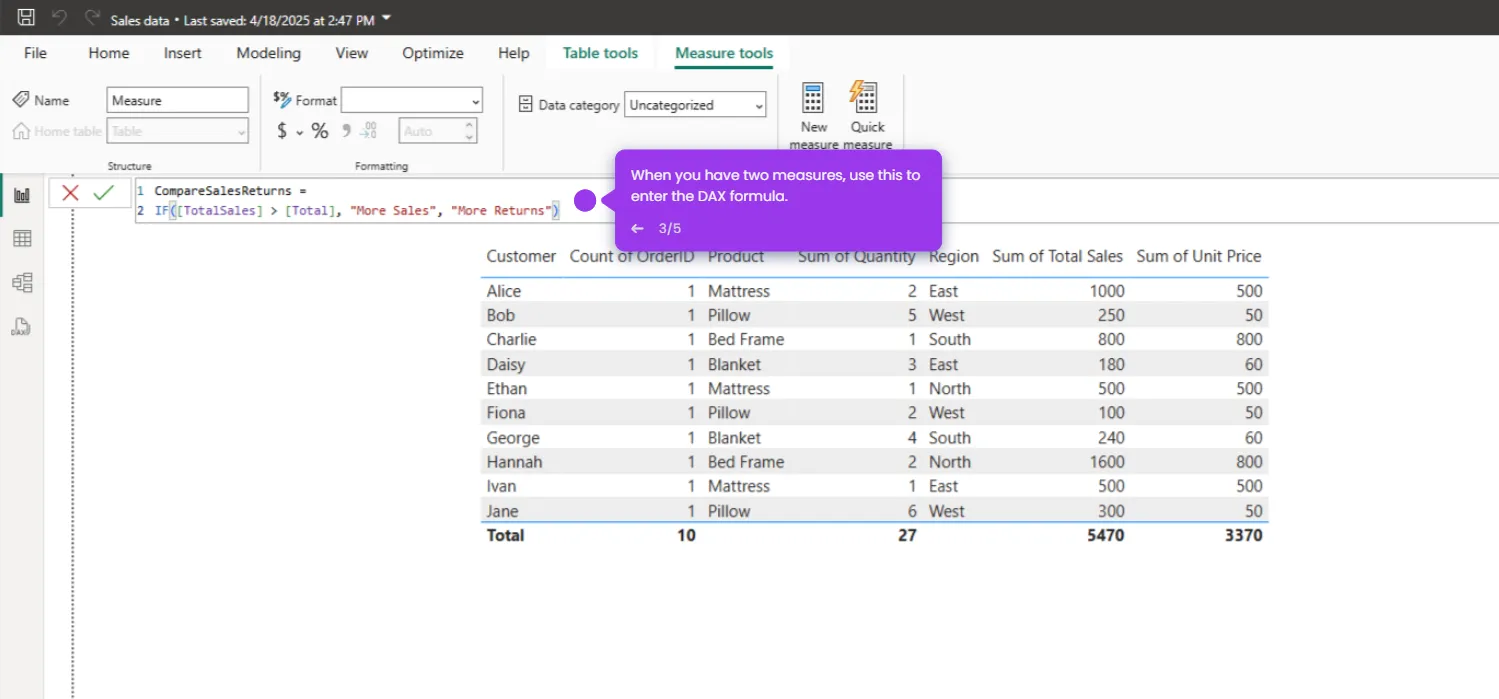
  6. Click 'Switch to DAX editor' to create more advanced filtering conditions using DAX expressions.
  7. Enter your DAX filter expression.
  8. Click 'Save' to apply your RLS role configuration to the model.
  9. Great job! Your Row-Level Security is now implemented.
Similar Articles

How to Uninstall Power BI

How to Compare Two Measures in Power BI

How to Compare Months in Power BI

Build Killer Demos in 2 Minutes
Chrome Extension Icon
Try our Chrome extension
DOWNLOAD

Desktop app for macOS
DOWNLOAD
Backed by
Y combinator
AICPA SOC
GDPR
Products
Guided DemosSandbox DemosDemo Hub
Featured
Account RevealPersonalizationIntegrations
Solutions
EnterpriseGrowth & Demand
MarketingProduct MarketingSalesPresales
Resources
BlogTutorialsHelp DocsWhat’s NewDemo DundiesPlaybooks
Company
CareersPricingPartnersContactTrust CenterDemo Abuse
Customers
Demo ShowcaseCase Studies
Built in San Francisco Bay Area - ©2025 Storylane
Backed by
Y combinator
AICPA SOC
GDPR
Privacy PolicyTerms & Conditions
X Corp (formerly Twitter)LinkedIn
This website uses cookies to ensure you get the best experience on our website. Learn More
Got it