Quick summary
Building a sales funnel in ClickFunnels involves creating a named funnel, adding funnel pages with pre-built templates, and configuring your funnel workflow with conditional paths or split tests. Once all steps are complete, you can immediately test or publish your funnel directly from the workspace.
Steps
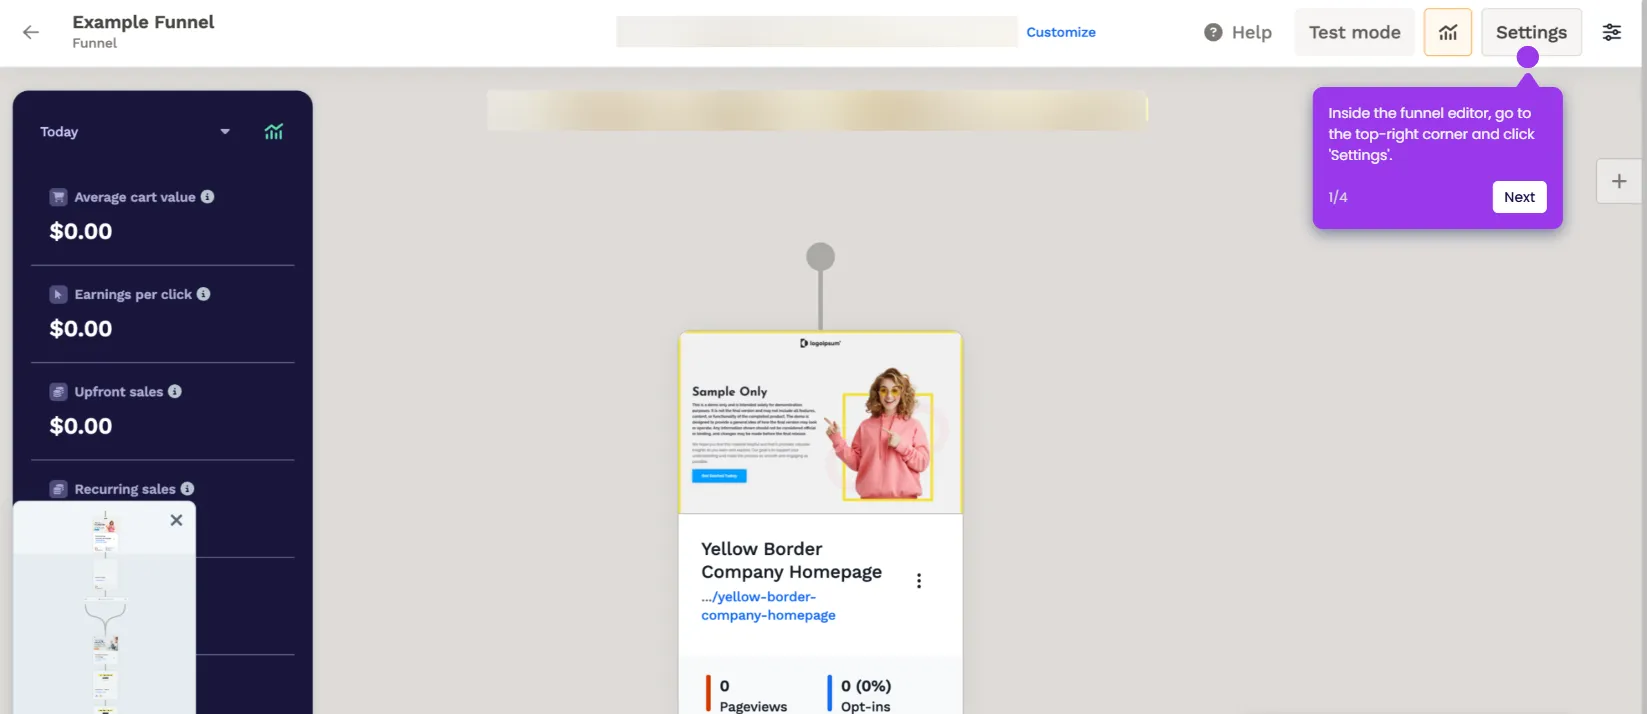
- Head to the top-right corner and click Create Funnel.
- Click Start From Scratch, or select a pre-designed funnel template from the available choices.
- Enter the required funnel details, including the funnel Name and Funnel Path URL, into their respective input fields.
- Once done, click Create Funnel to confirm and generate the funnel.
- In the main funnel workspace, click the Add button to begin building your funnel steps.
- Under Funnel, select the Page option.
- Choose Sales from the list of page type options.
- Hover over your preferred template and click its Choose button to select it.
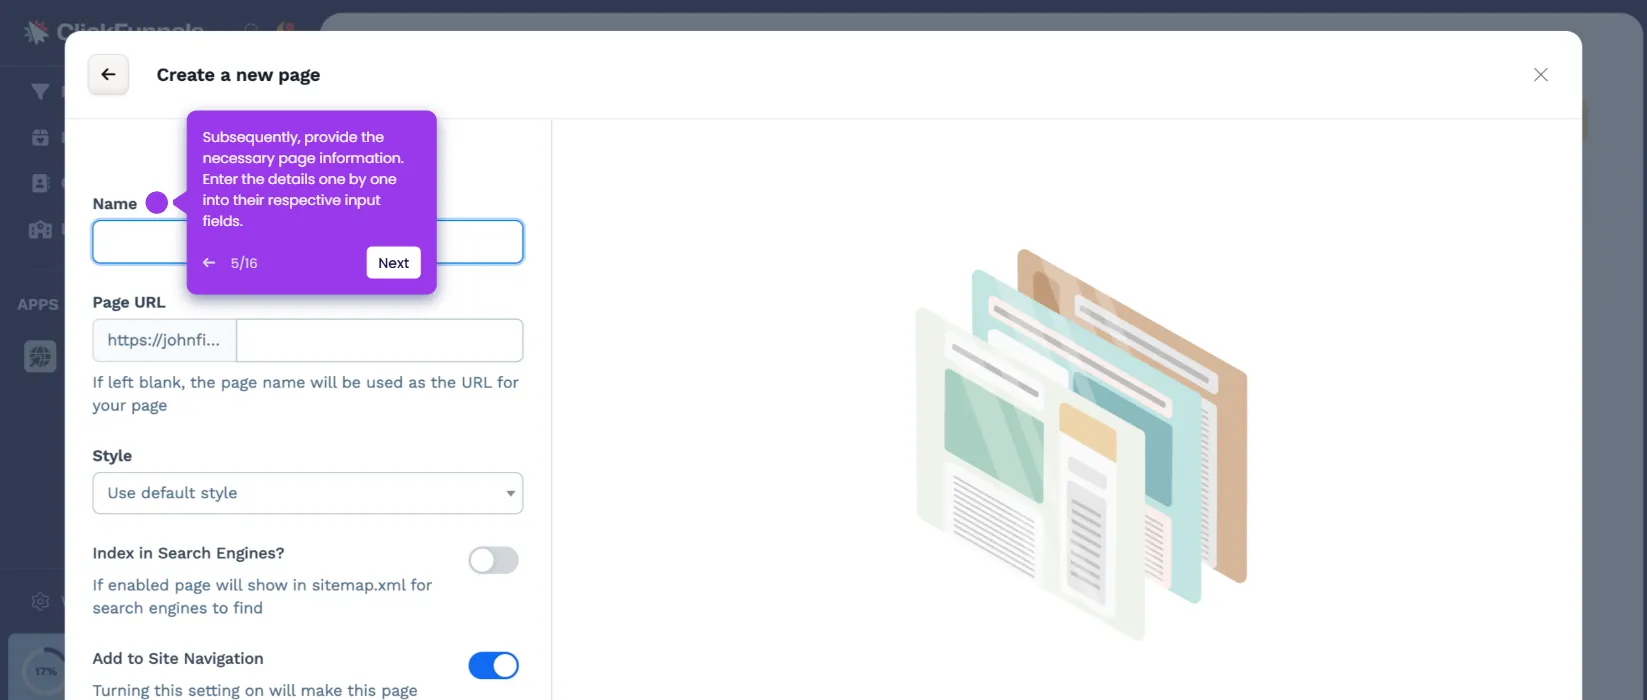
- Fill in the required page details into their respective input fields.
- Click Create Page to save and add the page to your funnel.
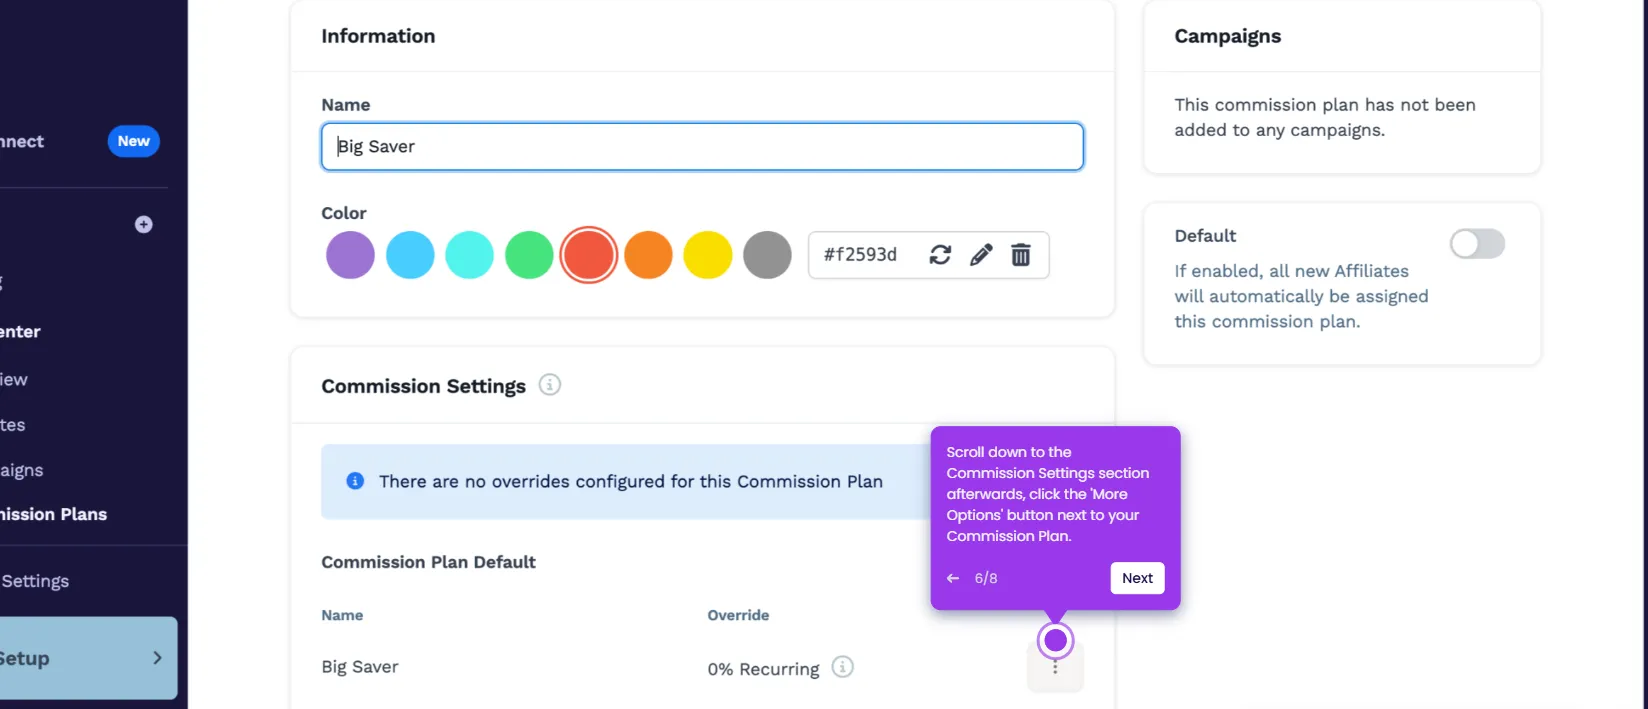
- To edit a page, click its More Options button in the funnel workspace.
- Select Edit Page and use the page editor to apply your desired changes.
- To modify the funnel workflow path, click the Add button in the workspace.
- Choose Conditional Split Path or Split Test under the Workflow section to branch your funnel.
- Repeat these steps until all funnel components are fully configured.
- Once complete, your sales funnel is ready — test it or publish it right away.