.gif)
.svg)


Quick summary
The Stripe AppSheet integration uses Zapier to automatically send payment data from Stripe into an AppSheet database whenever a new charge occurs. Setting up this Zap takes just minutes and eliminates manual data entry between your payment processor and your app.
Steps
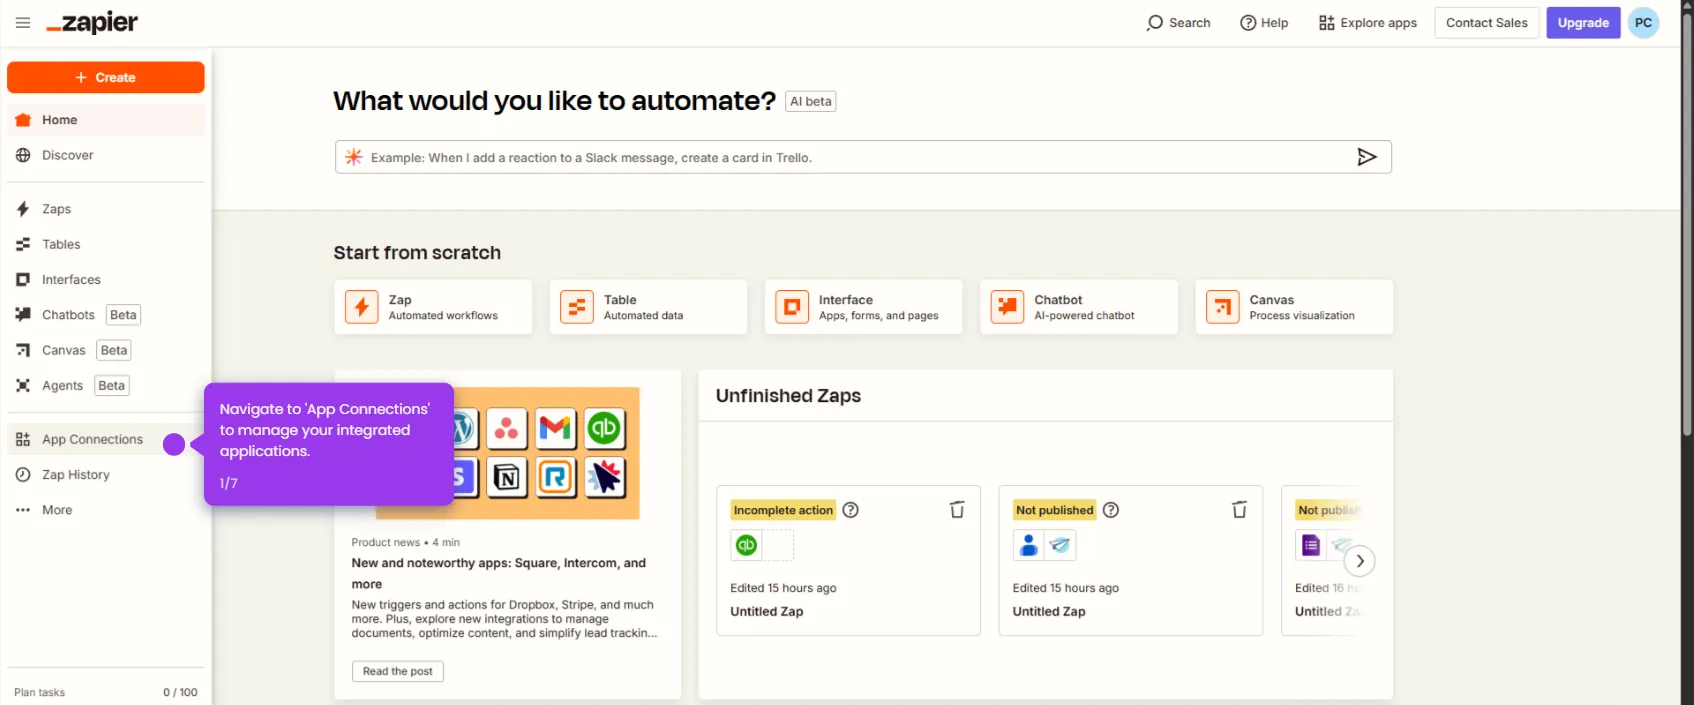
- Set up the trigger that starts your payment workflow in the Zapier editor.
- Select Stripe as your payment processing trigger app.
- Choose a trigger event — such as New Charge — to initiate your automation.
- Connect your Stripe account to the Zap to enable accurate payment tracking.
- Finalize your AppSheet configuration to define where payment data will be stored.
- Click Test trigger to verify the Stripe connection is working correctly.
- Select AppSheet as the destination app to receive incoming payment data.
- Define which payment action — such as creating a new record — will trigger the automation.
- Finalize your Zap settings to automate the full payment workflow end to end.
- Click Test step to confirm the AppSheet connection is receiving payment data.
- Click Publish to activate your Zap and ensure data flows correctly between Stripe and AppSheet.