.gif)
.svg)


Quick summary
This demo shows how to build a Zapier automation that connects Microsoft Excel to AppSheet, automatically creating new AppSheet records whenever a new row is added to your spreadsheet. Setting up this Excel AppSheet integration eliminates manual data entry and keeps both platforms in sync in real time.
Steps
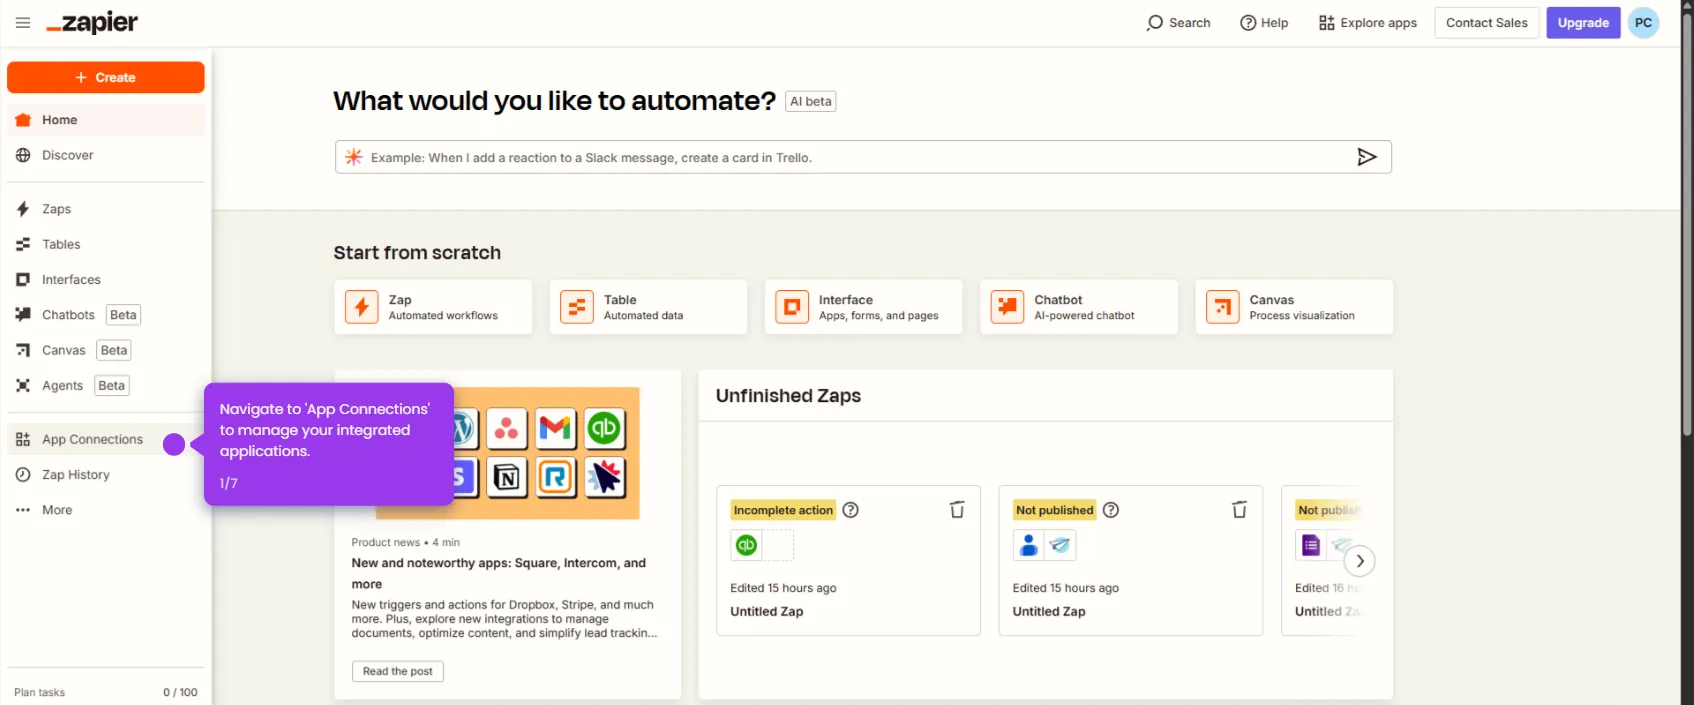
- Configure your first trigger to begin the automation workflow in the Zapier editor.
- Select Microsoft Excel as your data source application.
- Set up a trigger event that activates when a new row is added to your spreadsheet.
- Connect your account to grant Zapier access to your Excel data sources.
- Select your specific spreadsheet to monitor for new data.
- Customize the data mapping fields to define how your Excel columns map to your integration.
- Click Test trigger to validate your Excel trigger and advance to the next step in the workflow.
- Select AppSheet as the destination app for your Excel data.
- Specify the AppSheet action — set it to create a new record when triggered.
- Continue mapping data fields between Excel and AppSheet to ensure correct data flow.
- Click Test step to verify your automation and confirm that data flows correctly between systems.
- Click Publish to activate your Zap and go live with the Excel AppSheet integration.